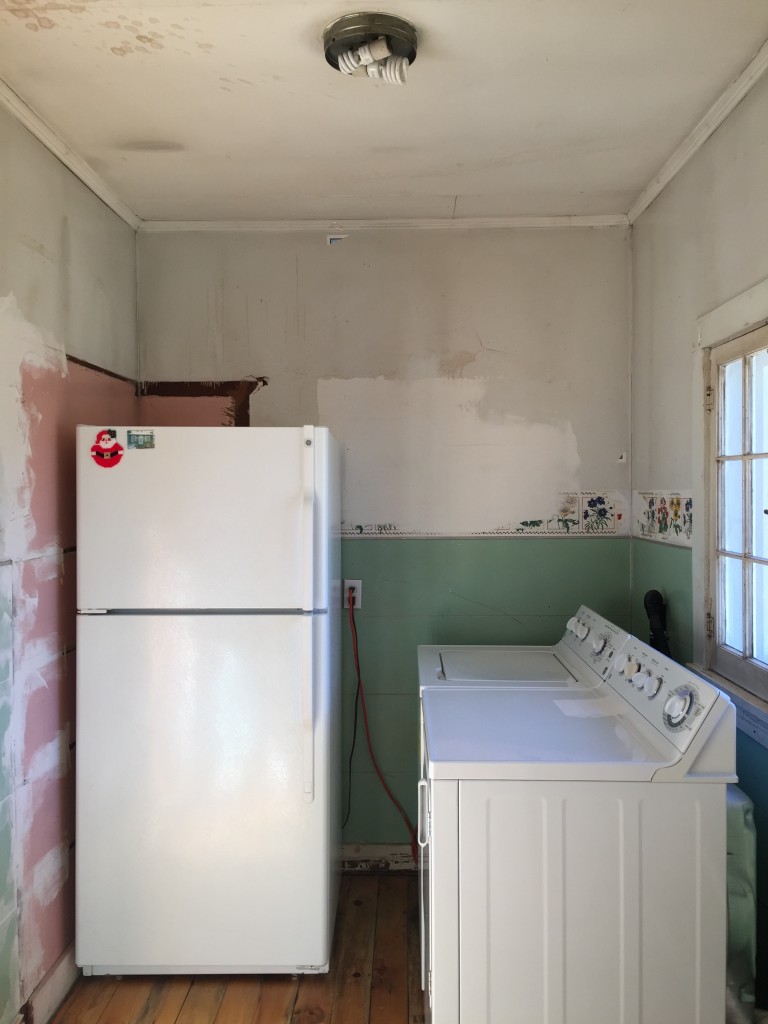
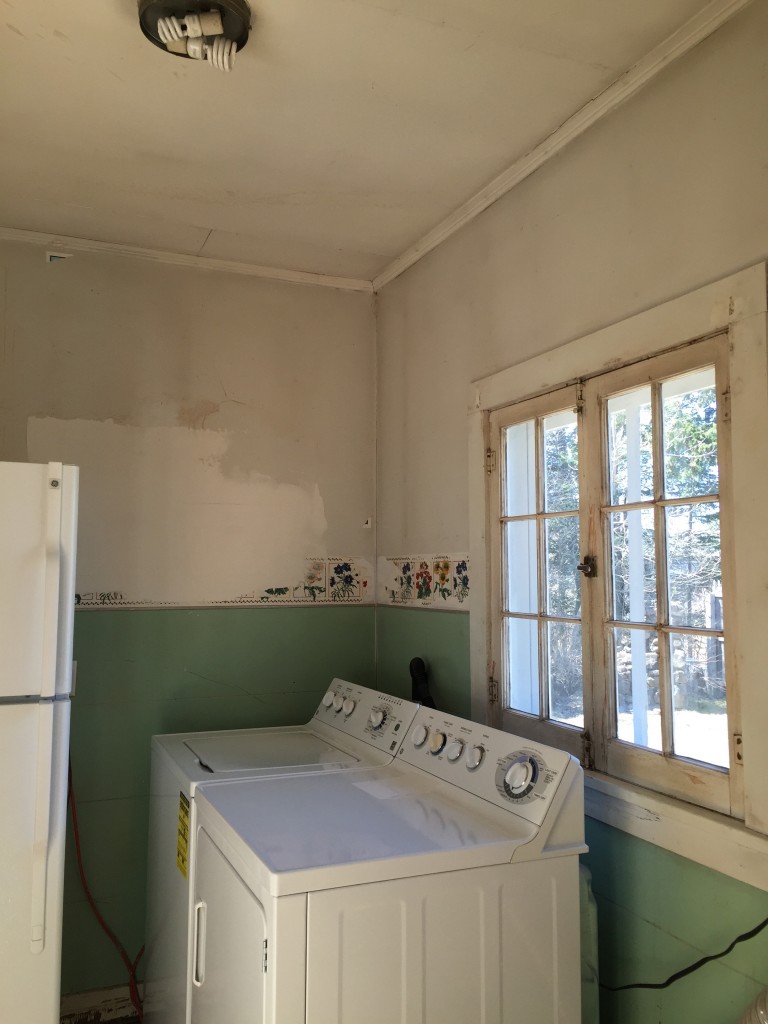
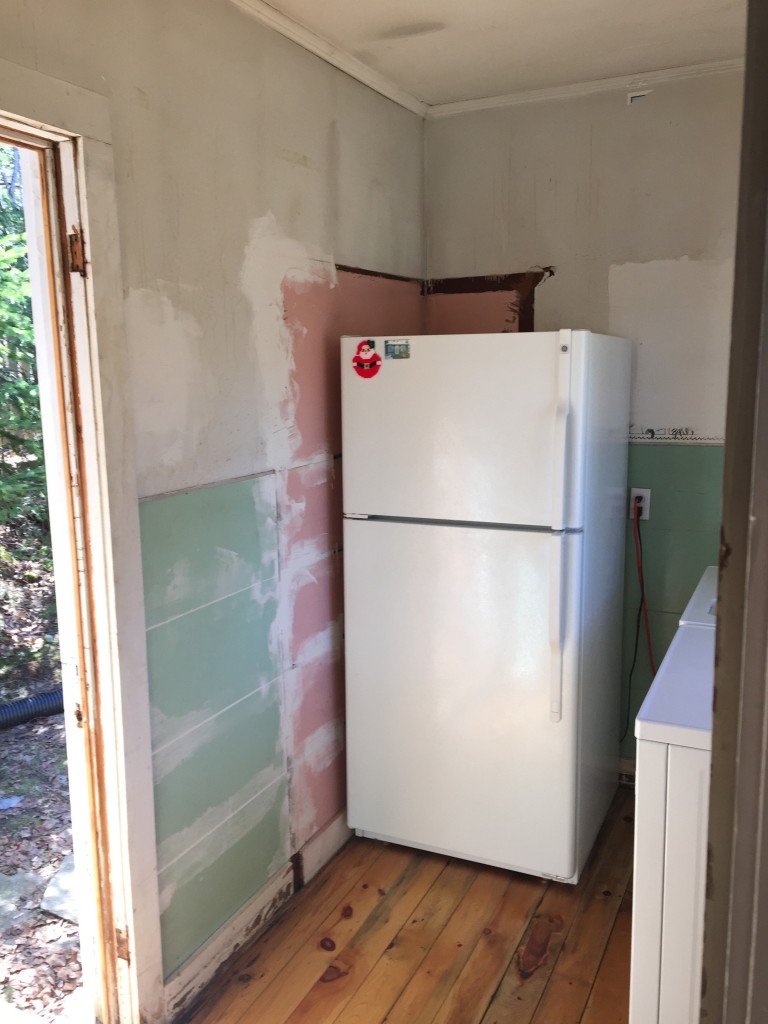
Our laundry room renovation was a labor of love! It took many years before we were able to tackle it this past April, and we had no idea it would be so much work!
Out of all the renovations we’ve done, the laundry room seemed to be just as time consuming and expensive as renovating an entire house!
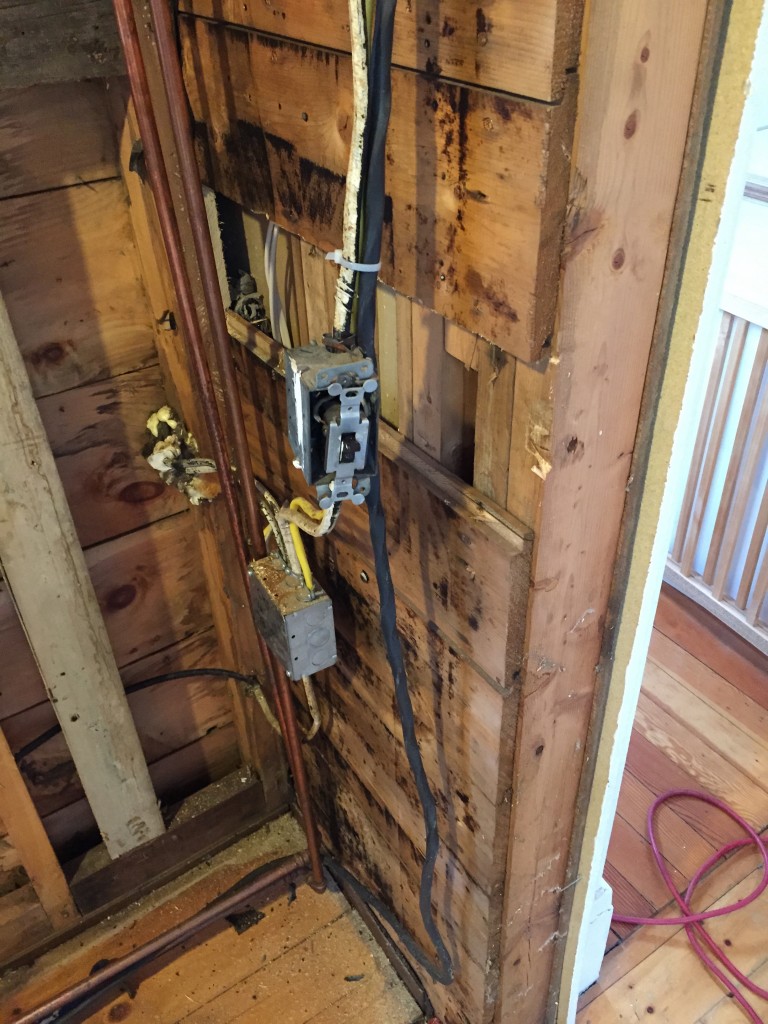
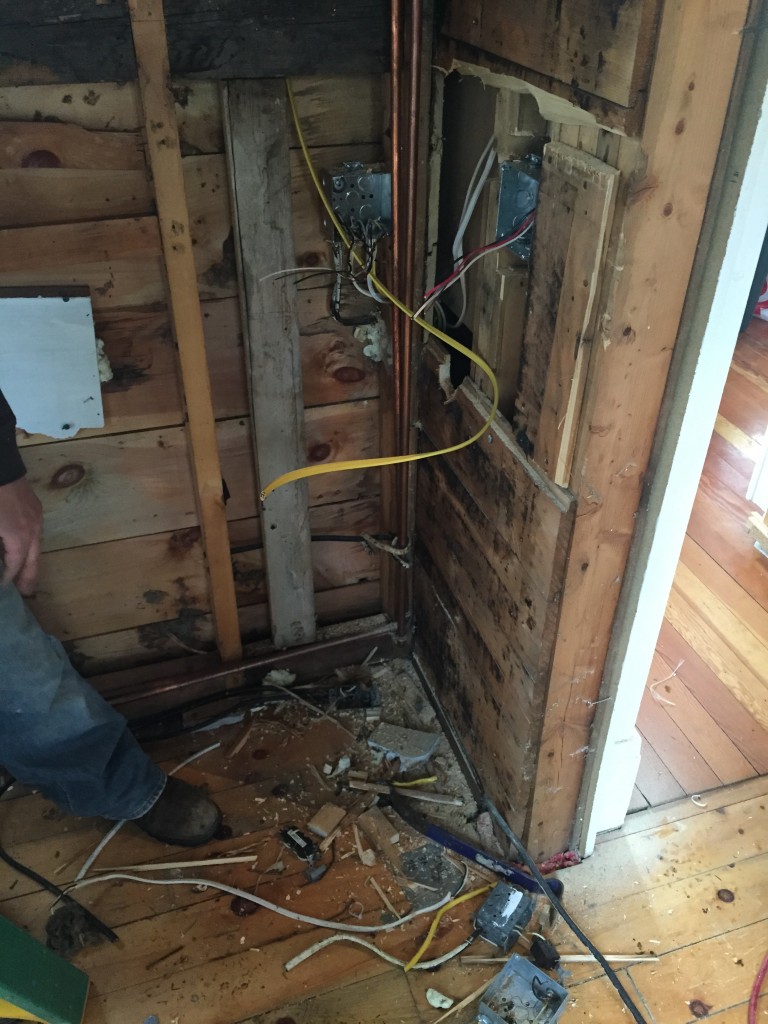
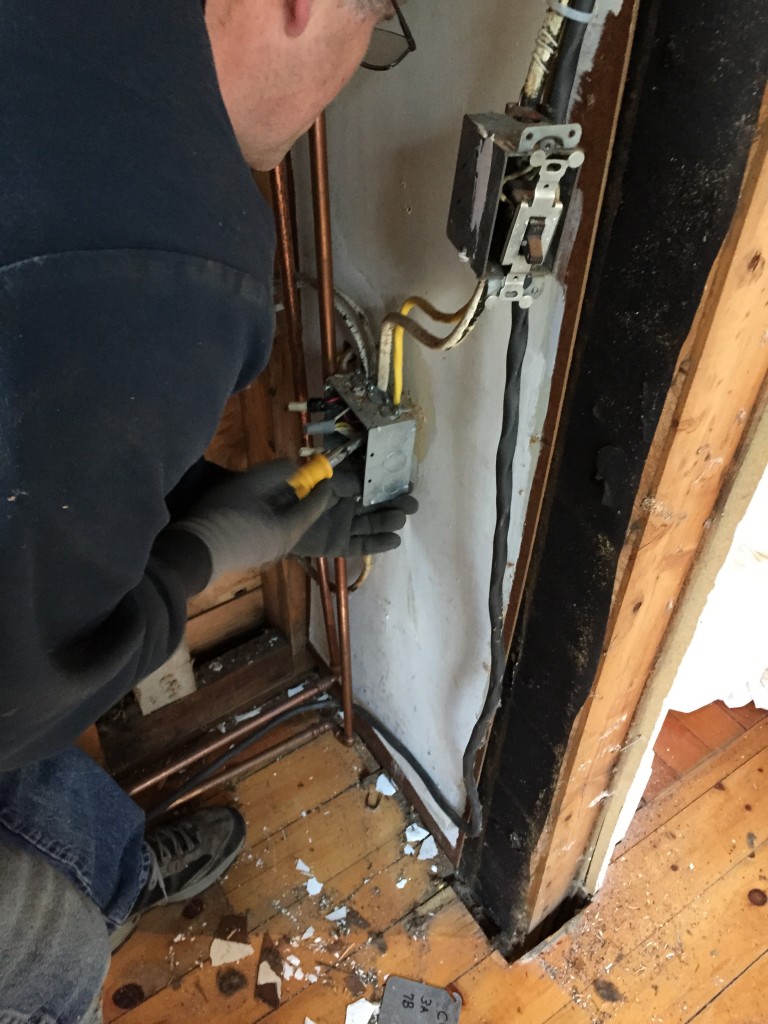
We planned to do the entire gut job ourselves, but after opening the walls we discovered that all the electrical and plumbing for the property ended up in that small 6 x 10 foot space.
The oven’s electrical, the wiring to the house, and the plumbing to the studio cottage were all co-mingling. Since the plumbing, water, and electrical together were too dangerous to handle ourselves, we called in our contractor friends to help.
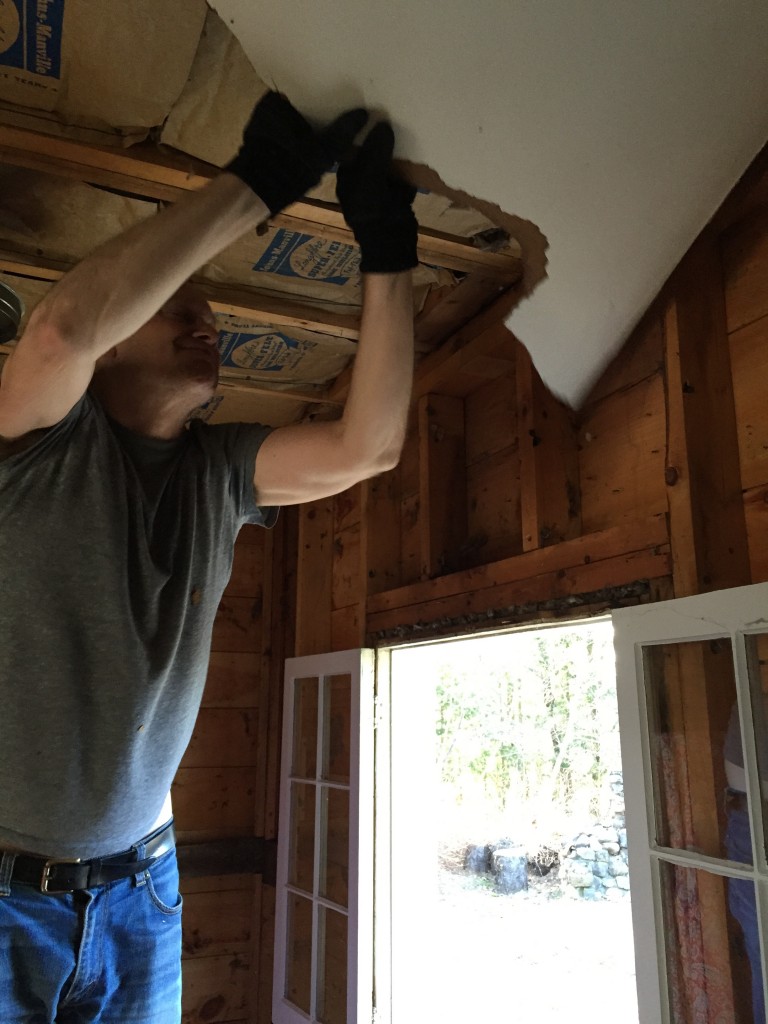
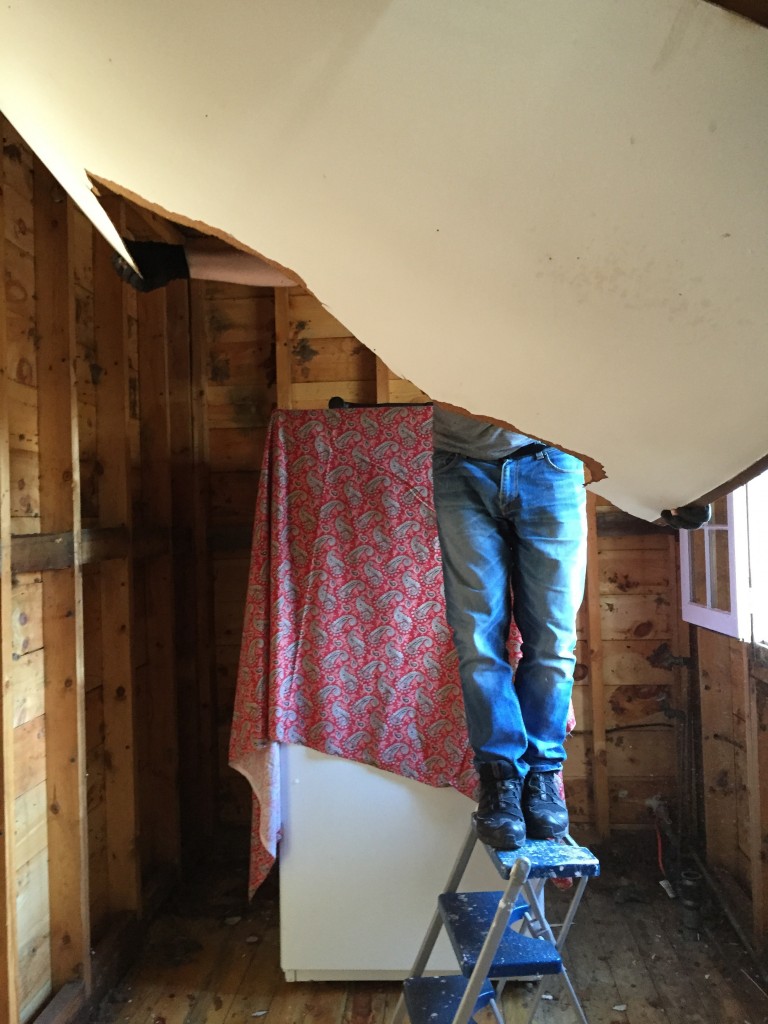
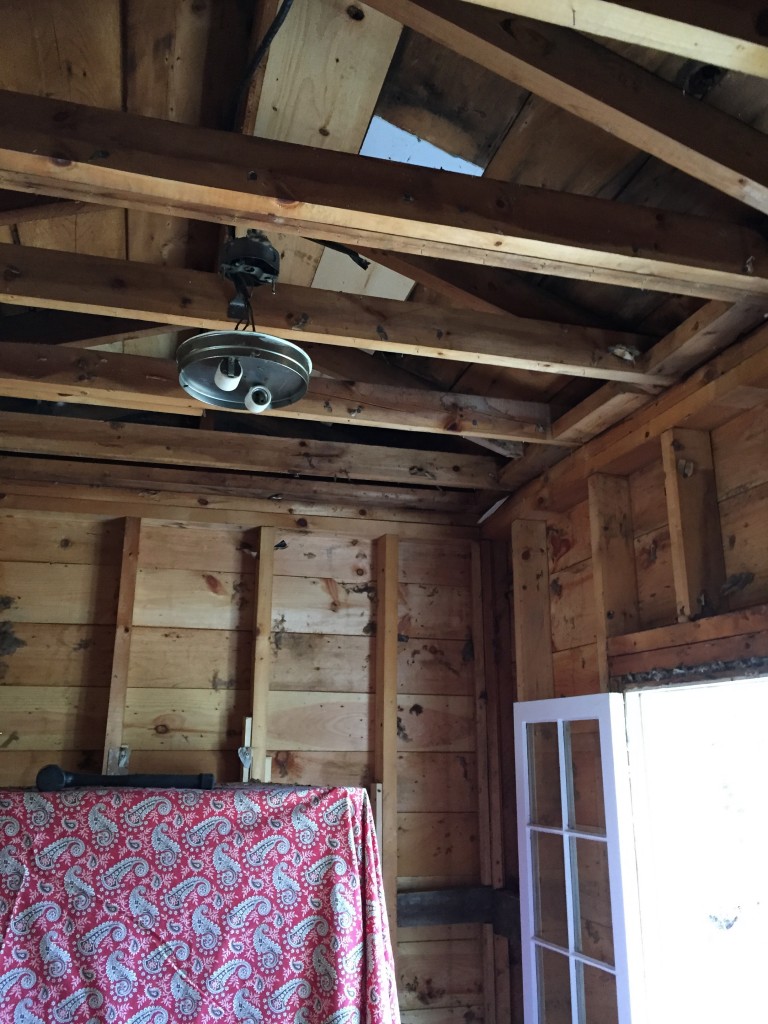
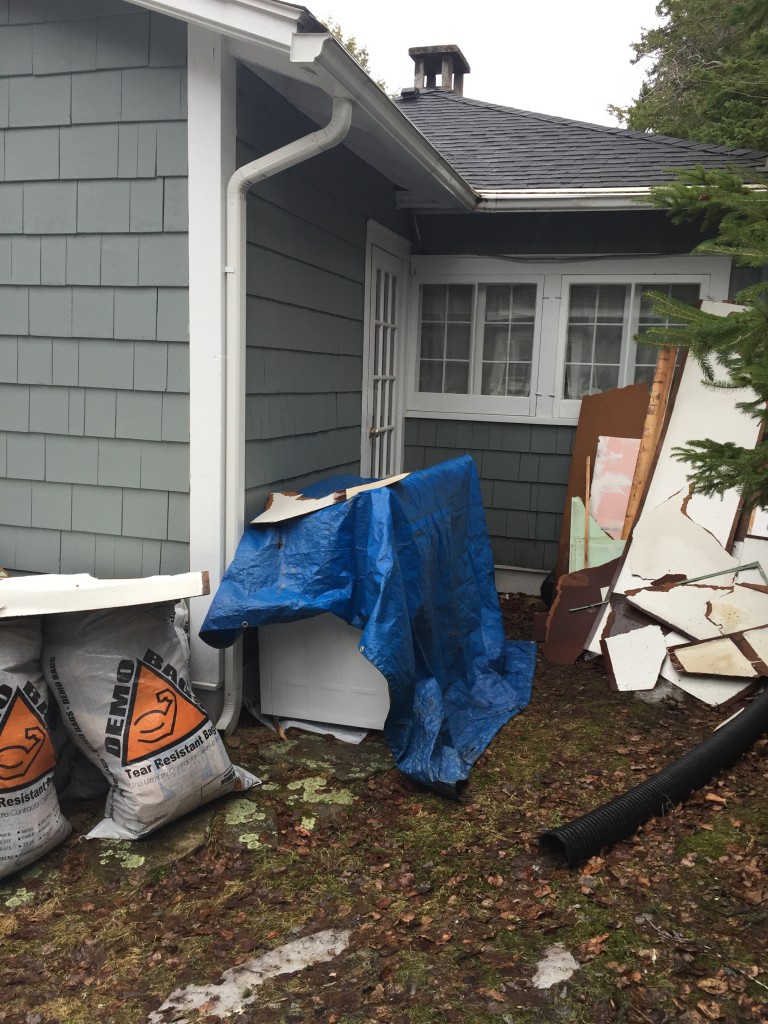
The whole process took about 3 months. We started out by gutting everything–the walls, ceiling, electrical and water–which left only the floor by the end of the weekend.
Once all the demo was done, we assessed everything. That was a big job: we fixed electrical outlets, added more outlets, and added washer/dryer electrical plugs because they are higher voltage.
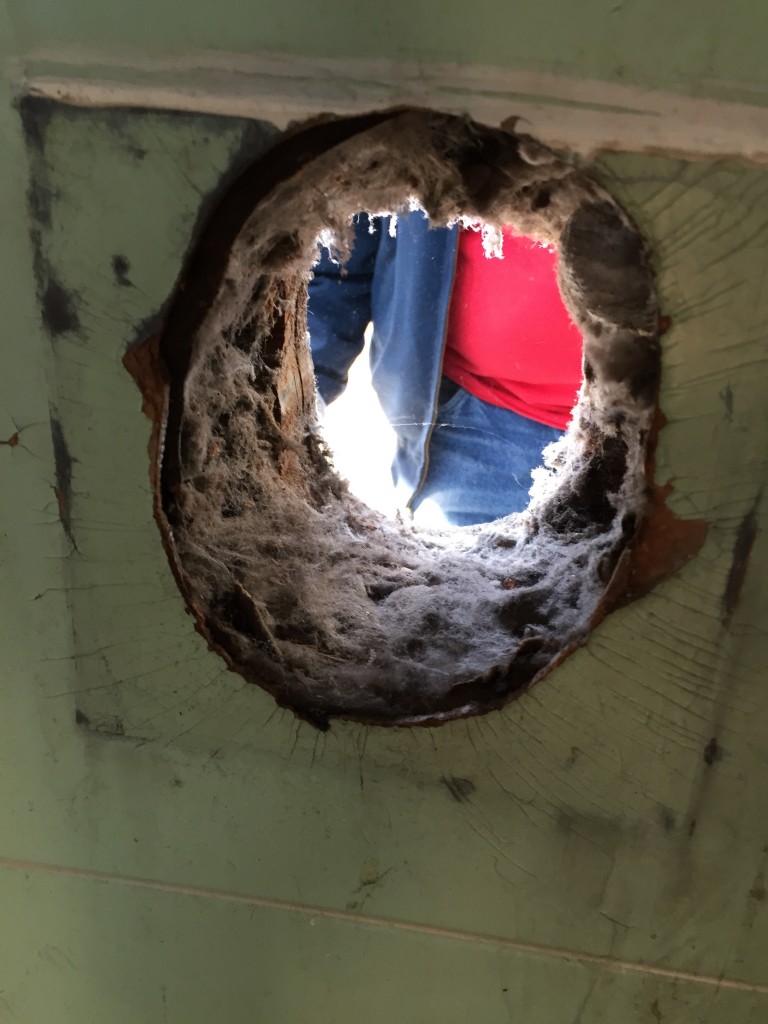
We moved the heating duct and all of the electrical down for the dryer. It was previously installed in a strangely prominent place and we wanted to hide it (which in turn created some huge holes we had to fill).
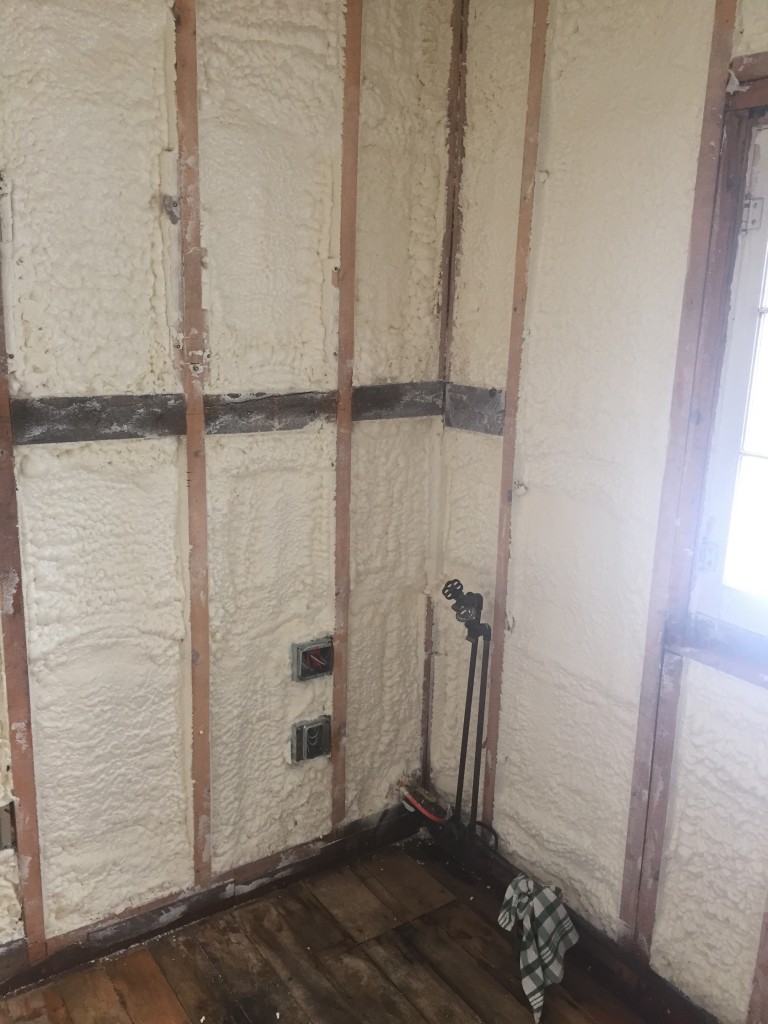
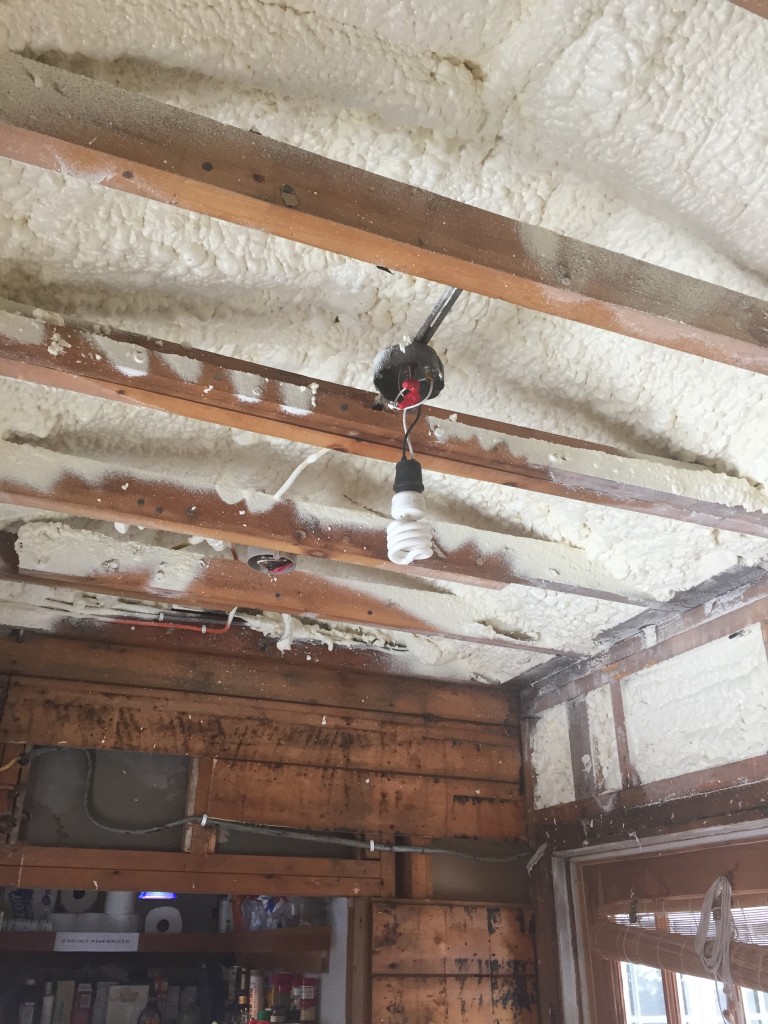
Next was the insulation. This took about 1/2 a day to do. This room was super drafty because of the lack of insulation and we also got horrible ice dams in the winter months. Now the laundry room is buttoned up so tight that it’s the warmest room in the house! Not to mention it will save big time on electric bills! YAY!
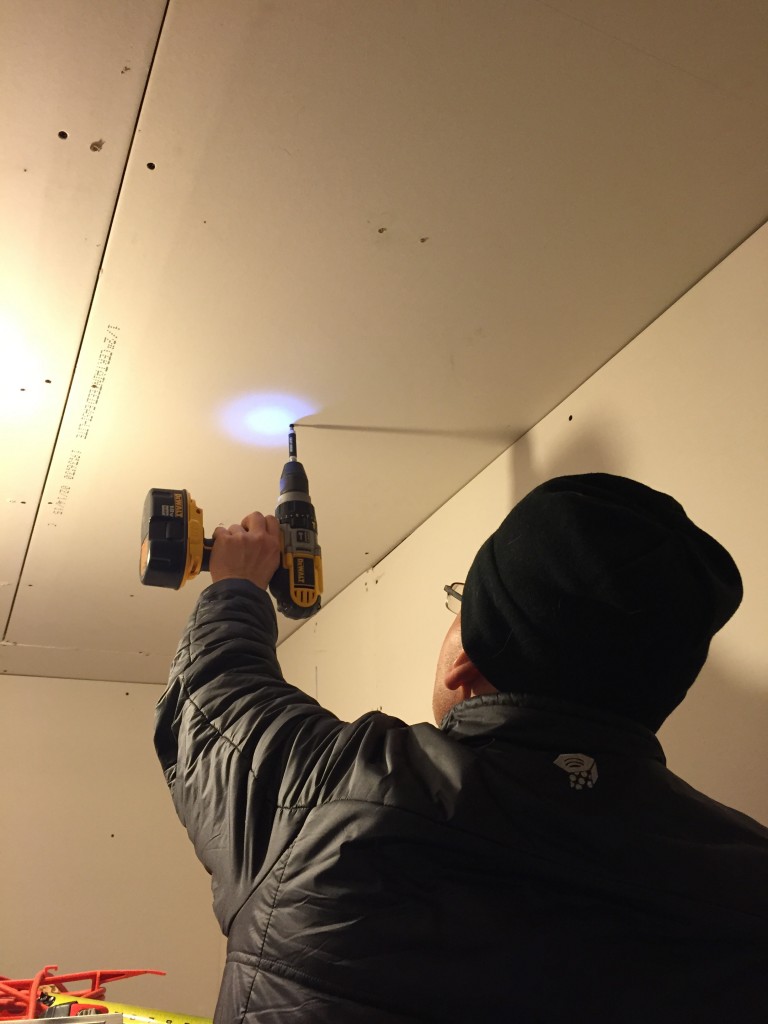
After the insulation was done we started in on the sheetrock. We took all the measurements, ordered it all and finally had it delivered. Cutting and appling it to the walls and ceiling is a lot harder then it looks. If you’ve ever cut a piece of sheet rock, you know what I mean. The word “dusty” comes to mind.
Once the sheet rock was up, we got to the skim coating and plastering which took a week or so. You have to let it dry, sand it, and do it all over again to level everything out. Don’t let anyone tell you that rockin’ is an easy job. (No pun intended.) 😉
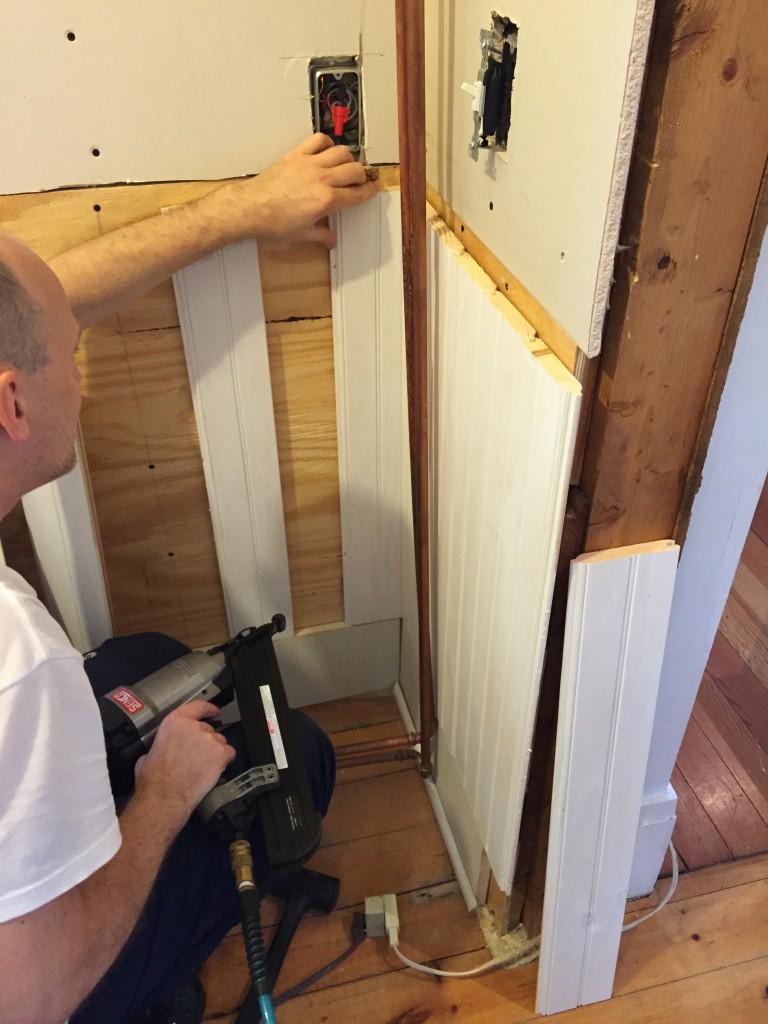
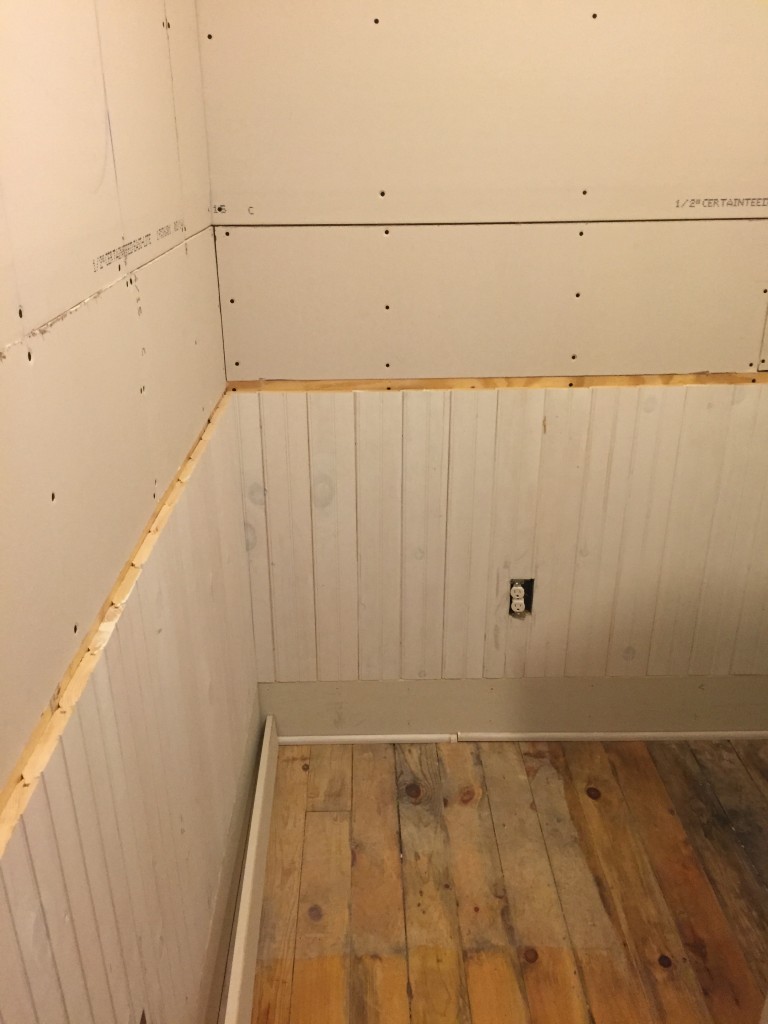
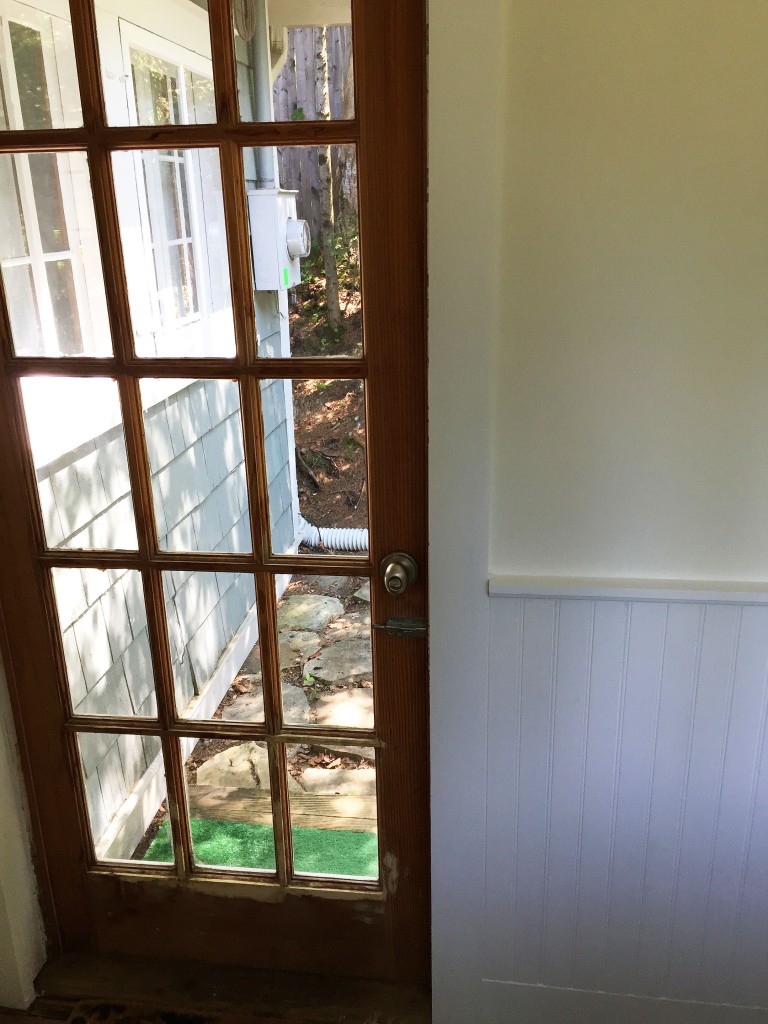
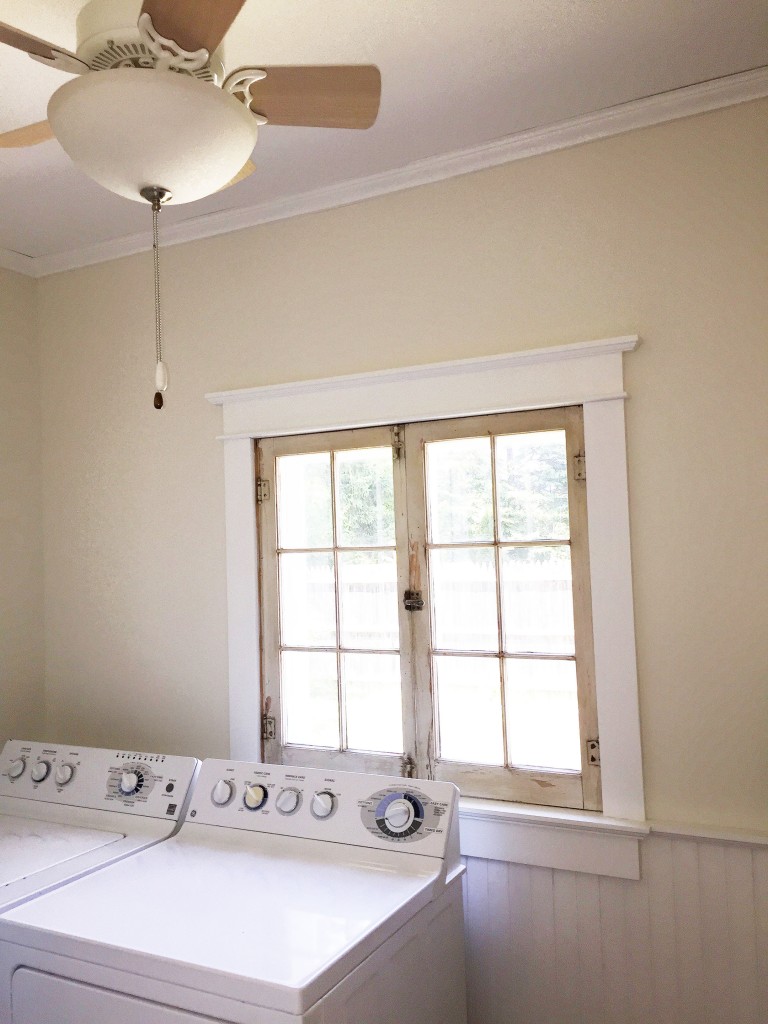
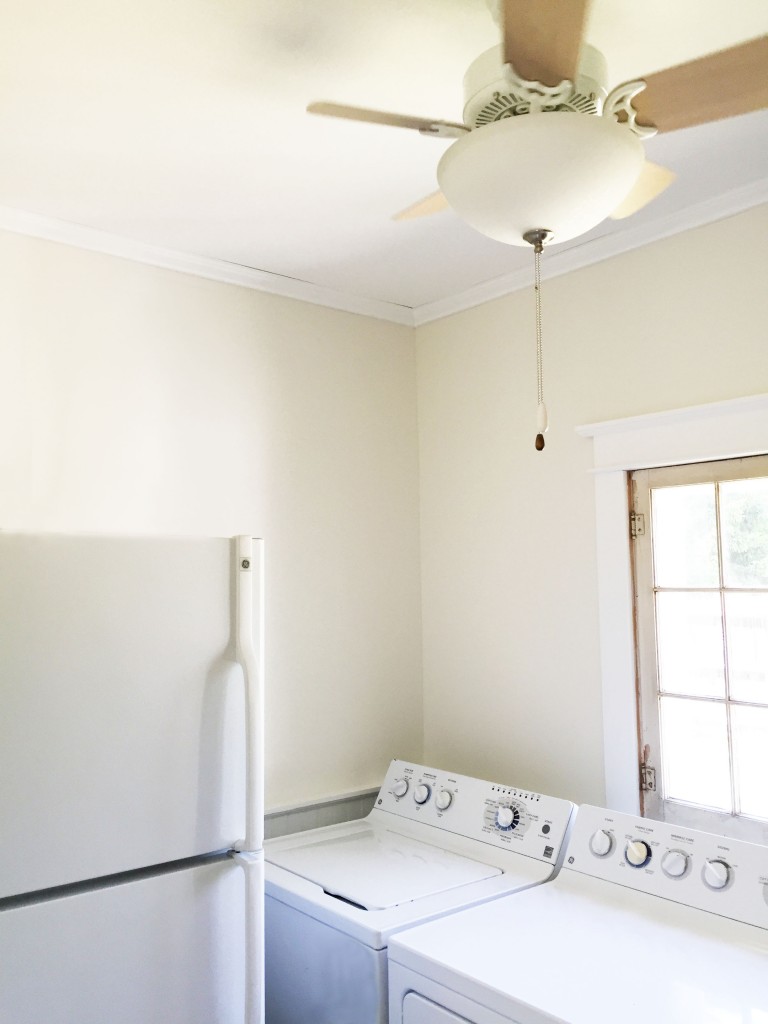
Then we started putting the room back together. I sketched out the design beforehand to be in keeping with the rest of the property. We wanted an open, bright, airy, and simple space to have for our laundry and refrigerator. I love the white wainscoting we have in the bathrooms and kitchens throughout the cottages so that went up first. It’s a great subtle treatment that adds to the country-chic theme of the cottages.
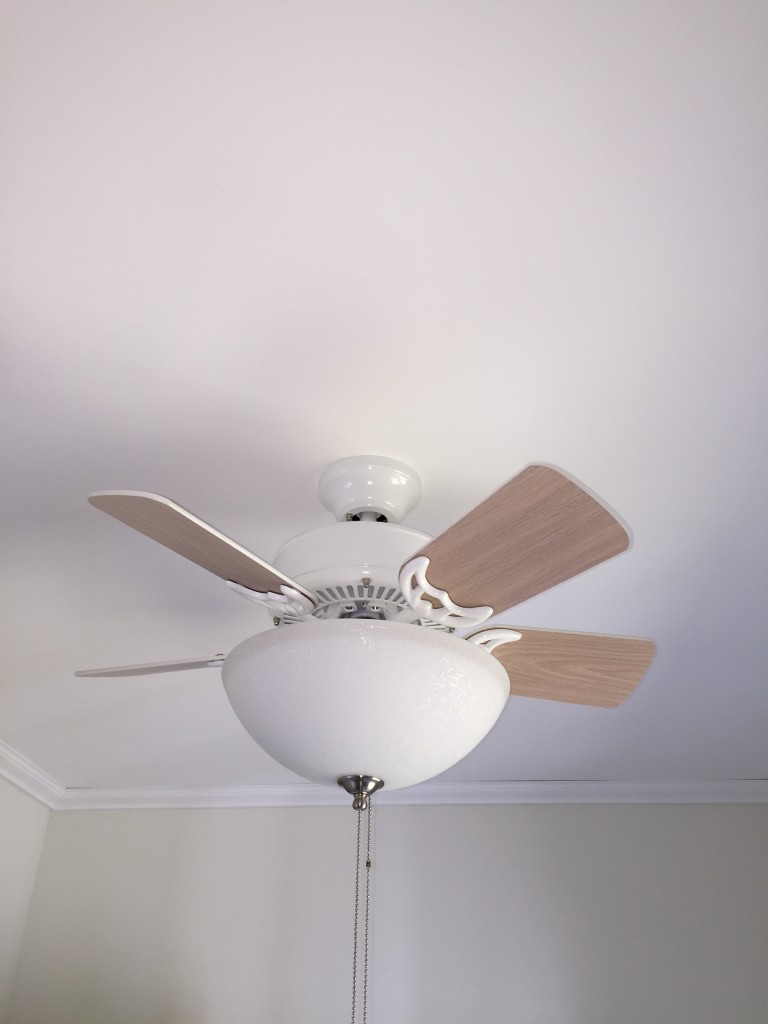
Next came the paint, which kept the same colors as the rest of the house. We used warm white for the walls and bright white for the ceiling. Then we cleaned up and sanded the floors to make them nice again.
It’s a Pandora’s box whenever you start something like this– it’s a huge undertaking that just gets bigger and bigger and you never know what you’re going to find. But now that the renovation is complete, the difference is utterly amazing! The laundry room finally fits in with the rest of the cottage. And a beautiful space makes doing laundry and other tasks so much more pleasant.
